I always wonder one thing, why a mom who used to work as a sewing machine operator in garment factory has never taught me sewing techniques as simple as tying a knot? And I always envy my best friend for having a wonderful mom who can sew simply everything out from scratch. So it happens that a mom like mine, although who used to work part-timely in garment factory, doesn't know much about sewing. Being a mom of my own 2 kids now, I decided to become the latter--my best friend's mom as a prototype.
 I used to think that my hands are so "cacat" that I could tie my fingers up when tying a knot. Oh bugger, after giving birth to 2 babies, I figure nothing can be harder. And so it is, sewing is as easy as a piece of cake, tho I have not started learning baking, just yet. With some help from online paper patterns and teaching, your kids will also treat you as a super heroine! Hahaha!
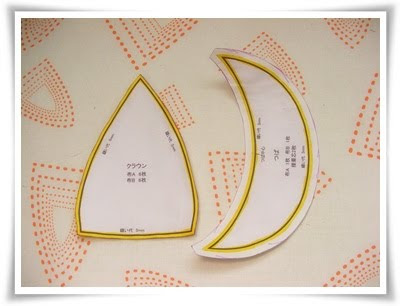
As a super-mom-to-be, you need to download the paper patterns from here. It's in Japanese characters, but we'll only need the patterns, so no worries if you don't understand Nihon. Coz I don't. But it's a bonus that you do too, you can directly learn the making of the kid's cap here step by step.

Cut out the patterns from the fabrics. Remember to leave a 5mm seam shares on the each side of the fabrics.
 For the brims of the hat, I added a layer of iron-on fabric to strengthen the brims.
Some elastic is needed for adjusting the head size.

For the beginning, sew up one side of the crown rims with both patches facing front to front.

When all 6 patches are stitched together, remember to iron the seam shares flat to avoid the hat from being bulgy when stiching together.

Leave a 5mms of seams share folding inward. Then stitch the 56cms rims to the crown, overlapping itself for around 1cm, cut away extra fabrics. Then put the 2 parts back to back, stictch the elastic at the back of the cap.

For the brim, after stitching the outer rim of it, cut the seam shares into zig-zag pattern before turning it inside out.

Machine stitch around the edge of the brim. Pin the brim to the crown rims before finishing up.


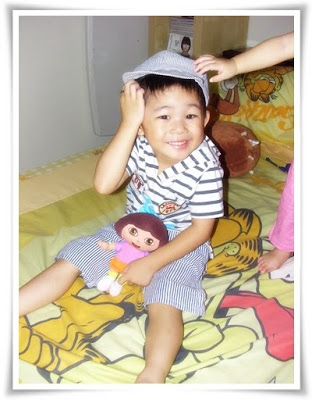
 And you can have your admirer worshipping your creation like this.


沒有留言:
張貼留言